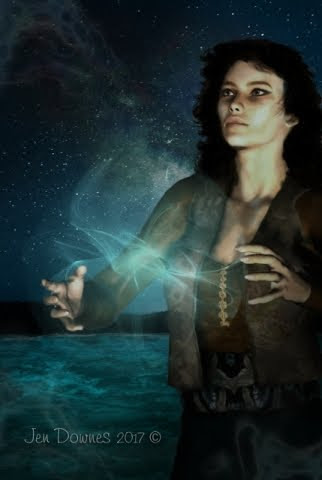


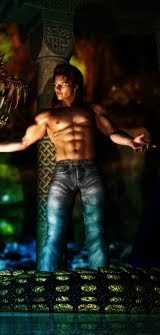

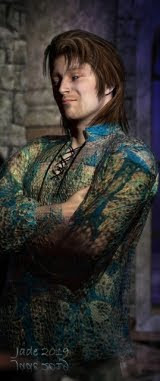


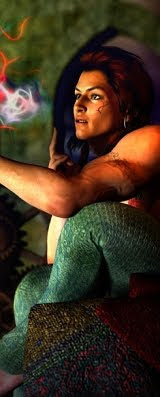

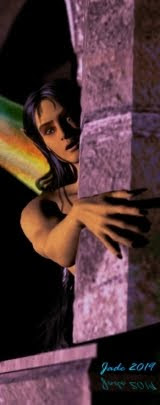


A source of huge pleasure just dropped into my lap: at last (at last!!) the chance to paint the cover for Mel Keegan's new one, Shadow and Flame. I've been waiting to get the final draft of this one for about four months (or six...) and it dropped into my email box this morning. I "saw" the cover instantly, and the art just fell together. This took about two hours flat, including the underpainting, overpainting, creating the textures for the costumes, organizing the lights, raytracing, the whole lot. When it works, it works. Inspiration, and all that.
Here's the cover complete with the text objects:

Click on either of these to see them at full size -- I've uploaded them at 600x900, so you can see the details, because it's actually well worth a look. The whole thing was painted "bottom up." I started with a firm idea of the colors I wanted to see in the finished thing: I wanted an indigo night sky that was still light on the horizon, but with the stars out. So you set up your Photoshop canvas at the right size ... select the two colors, and do the graduated fill. Then paint the stars in a new layer. Then paint the tents in another layer,
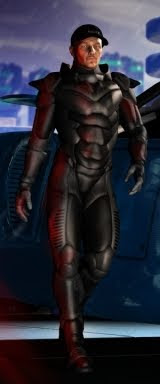
complete with flags. Then add the fire, with flames and smoke. Flatten the image, save it, import it into DAZ Studio as a backdrop to the characters. Here it is:

The final posing, lighting and texture work was raytraced (took about a half hour), and then the result was shipped back into Photoshop to have the dents and buckles in the 3D models painted out. (My kingdom for the ability to work with the Genesis model...) Then a new layer was added, and the overpainting was done to add highlights and features to the sky and the foot of the frame. Then this was exported into Serif Page Plus to have the text objects added.
Oh -- answering a question I fielded a little while ago. Someone said, "I've looked everywhere, and I can't find the tools in Photoshop Elements to get those text effects." Well (sorry), this is because the work you see here wasn't done in Photoshop Elements 9. I have no doubt that if one paid $700 or some over the top price for the full-on version of Photoshop, the tools would be there! However, who can afford that? The text objects I do are always done in Serif Page Plus ... and I'm still on version X3, which does everything I need plus about 300% more than I need! X5 is the current version, and if/when I ever need to upgrade, I'll upgrade. Can't say I'm in any hurry, as I have far more tools than I could ever use in X3.
The title of the book you see here was done by setting up the font, adding boldface, adding an outline, setting a color fill for the font, then another color for the outline; then setting an outer bevel on the whole thing, before configuring 3x 3D lights with ambient, specular and diffuse values, and jiggling the position of the lights to get just the right effect. Took about ten minutes to get it juuuuust right.
Incidentally, the book will be out in January, when we have a small raft of new titles going into distribution (One of them is The Road of Birds, which you might have seen in yesterday's post). We don't want to release anything at this time of the year, because the way new books go cascading through the vendors' pages (places like Kindle and All Romance eBooks), blink and you'll miss them ... and at this point in the year, most people are not even looking, much less not blinking! January 10 is our target date to have a number of new titles out.
This one was a lot of fun ... and I'll be back, with a Christmas card -- as soon as I figure out what in the world to paint this year!
Jade, 22 December