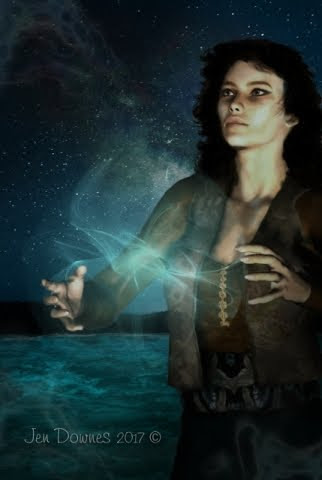


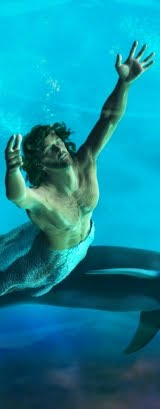
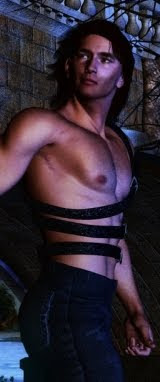


With work piled up to high to get into a serious art project today -- only a spare hour to be scrounged -- I decided to play in Photoshop on my tea break. For a while now, I've wanted to play with its merge modes, and especially with its ability to work various merge modes across various layers to create artistic effects. This is not something I ever spent much time on, in Micrografx -- not because the tools aren't there in the old software (they are) but because I had no use for this kind of art before.
But with comic and games art becoming so vastly popular today, I've been taking more notice of this area. Today's comics are digitally generated (they also cost a tonne of money! Have you notice the price of comics lately? Phew!) and the art is amazing, even on the small mags. On the big books, the full-on graphic novels like Slaine The Horned God, by Pat Mills, the work is astonishing.
Speaking of Slaine, you have GOT to see this ... see what fans are doing on the desktop these days:
...that's not a major motion picture from Peter Jackson. That's a bunch of fans in Spain spending a year or more bringing the comic book to life as a trailer for a movie that doesn't exist. I know every panel and every word in the three 100pp Slaine books, and this -- is -- it. Am gobsmaked by this -- check out the details here: www.miguelmesas.com Oomph. Would realy love to see this as a movie...
Anyway --!
Sorry for wandering off topic, but mentioning Slaine jogged my memory. It's amazing what fans are doing on the desktop -- and I predict that in the years ahead, some of the best comics and graphic novels are going to be born on the desktop and distributed over the Internet. I've got rather a hankering to be involved in it, as it unfolds, so I thought to myself today, "Hmm, if I only have an hour going spare, let's go play in Photoshop and see what happens.
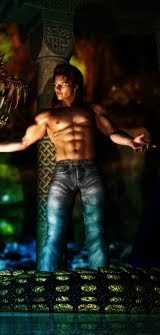
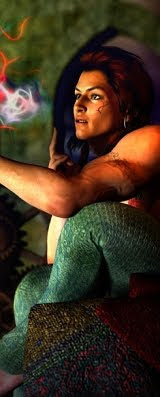
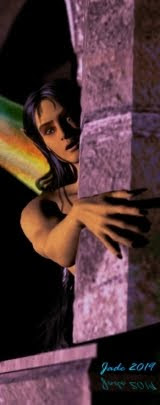
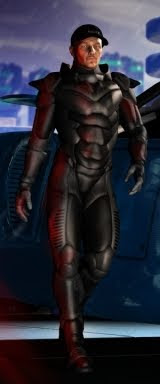
This sort of thing turns out to be very easy, and the results you can generate are almost limitless -- you might need to see these two at LARGE size to see the effects properly, because they're from quite large images, and the more they're compressed size-wise, the less that arty attributes show through:


Here's a VERY quick cookbook method for how to do this:
Finish your render in DAZ etc., and save as an image. Open this in Photoshop and then select FILTERS > Find edges. Then convert the result to grayscale. Then go ENHANCE > Brightness and Contrast. Crank the contrast to 100%; darken a little if you lose too many fine lines. Then, LAYER > New Layer. Paste the original render into the new layer, and drag this under the line sketch. Now, with the line sketch on top, play with the Merge Modes and opacities till you see something you like. A good place to start is "Overlay" and 100%. When you're happy with the result, flatten the image to a single layer. Now, you can play with the lighting and color to your heart's content till you have something you really like ... save it. When you know your way around Photoshop, the process should take about five minutes, not counting doing the original render, obviously. I did ten in under an hour, and am uploading eight.
Interesting, no?
Jade, 21 July