


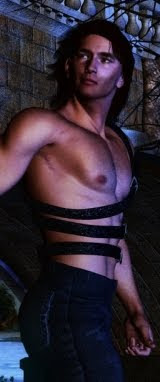


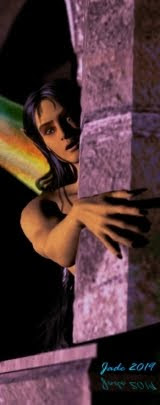


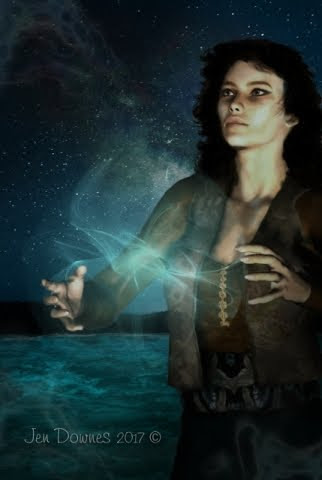
As always, start and the end ...! This is the finished face, all done, looking sun-kissed, seductive, like a surfer-dude who just walked off a beach, still tasting of the sea. Very, very nice! It'd be even nicer if you could just click on a button and buy the whole thing, but as I often say in these posts, "Sorry guys, you can't buy him anywhere, he's one of mine.
The other day I promised to do a post talking you through the HOW of this, so you can make your own ... and here we are. Now, you can't do this without the Morphs++ for Michael 4, and if you don't have this, you'll have to get it. There's no other way. If you do go ahead and get the Morphs++, I would be inordinately grateful if you'd start from the DAZ banner on the left of this screen. That is an affiliate link, and they do pay me a small percentage when someone makes a purchase starting from a link on my page, and like everyone else these days, heck, I could use the bucks! So do keep this in mind as you read on down.
So let's get started!
 This is Michael 4, fresh out of the box. All I've done to start with is add the high rez skinmap, so that you have a clear face to start working with. Notice the bounding box around the head. I've selected his head ... and when you do this, you notice the Morphs++ menu opens up on the right of your screen. Now you're all set to change, well, everything.
 You can start the easy way. They give you about a dozen presets to play with, with names like Allan and Daryl and George and Randy. Each one of these is a distinct genetic type, so by choosing a slider bar and pulling it left and right, you can change the ethnicity of your character. I've jiggled almost all of them to achieve this current face! They "nest" or "stack" the characteristics of any of the slider bars, so you can go a long way on this alone. You might easily get something you like enough to save it and call it good. But...
 I wanted more, so I kept on going. Underneath the ethnic slider bars in the Morphs++ menu are the ones that control things like the fullness of the face, the flatness of it, the roundness of it. Once again, it's all about adjusting slider bars will you start to see something you like...
 When you've gotten yourself into the ballpark with these simple controls, it's time to start the fine-tuning process. Under the "Full Head and Face" menu, which you've been using so far, you'll find very special sub-menus: Upper Face, Eyes, Nose, Mouth, Lower Face, Upper Face ... which means exactly what you think it means!
Now you go to work making his eyes slant, making them larger or smaller, closer together or wider apart, deeper, not so deep ... change the skinfold, the arch of the brows. Anything. Everything. When you start you see a face you like, make sure you save it! One crash, and you lose a lot of work, and it kills you when you can never, never get back to exactly the face you had. It's practically impossible to duplicate the work.
 When you get to this level of adjustments, they're often so subtle you have to look twice to see them. In the image above, I've been working on his mouth. This is the only part of the model which has changed, and you can only really see it in the upper lip. But it took about 20 minor adjustments of the slider bars to get just this effect...
 Now it's his nose and cheeks ... I sank his cheeks to an extent that looked right with this skinmap, and prior to lighting and rendering ... at the end, you'll notice I un-sunk his cheeks a lot to fill out his face. Be prepared to keep adjusting every time you do things like --
 Add a toupee and a set of custom eyeballs. The effect putting hair on him makes is enormous. (This hair is Neftis's Rock Star Hair -- from DAZ, and available via the same affiliate link as above, hint, hint.) A hairdo can make the eyes seem too deep, the nose too small, the skintone wrong. And the easiest way to tell if the dynamic of the face us working -- or not -- is to render one here:
 That's not too bad. Notice in the left side, I have my custom eyeball set open! That's The Eyes Have It (also from DAZ ... ditto the affiliate link; thanks, guys)
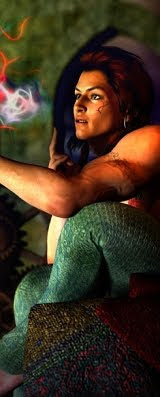
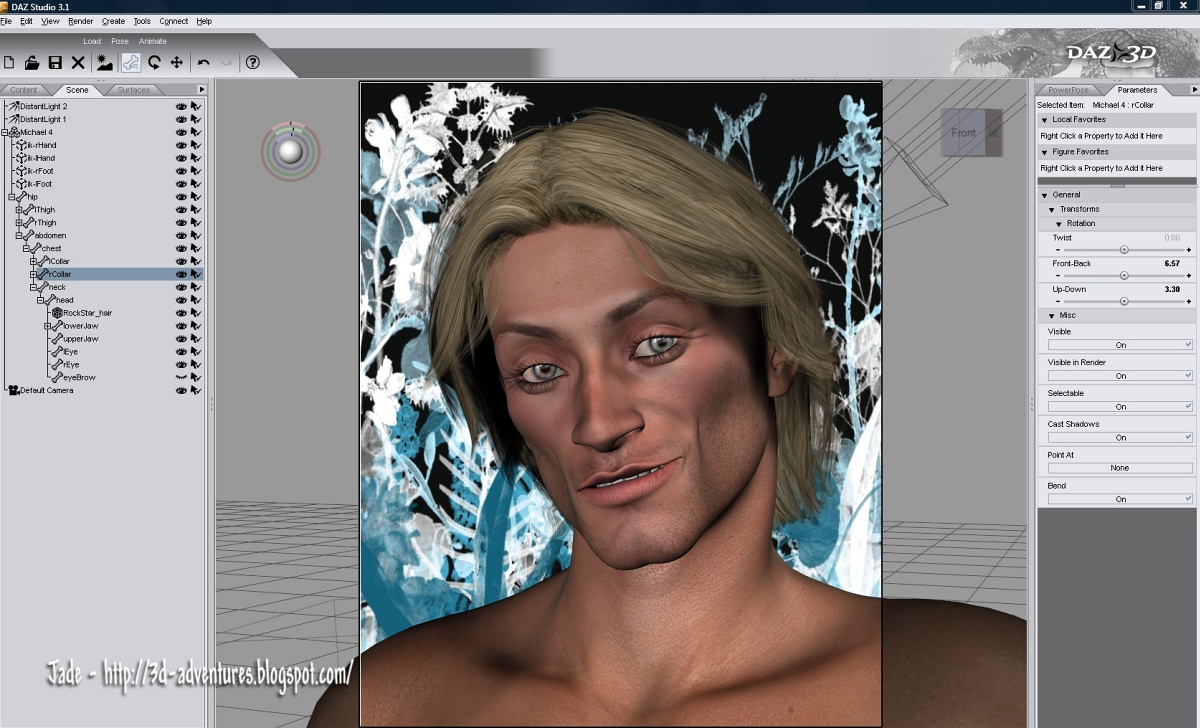 Now, we're cooking. But I'm looking at that skinmap (which is the M4 High Rez skinmap), and thinking, "Hmmm. What would he look like with another skinmap?" This is just an experiment, you don't have to do this. Be aware that when you change the skinmap you really, really change the way the character looks! It can be a shock. It's not just draping a new texture on the same face ... well, it is, but it makes a much bigger difference than you expect:
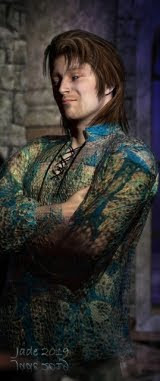
 And the third one is just about perfect. See how the set of the eyes changed? The brow became heavier, which suits this rawboned face. This is the JM Alexander skinmap, and of course when you fit the map it also automatically sets its own set of eyeballs...
 The JM Alexander eyeballs are nice, but The Eyes Have It are specifically, and only, eyeballs, so they designer's heart and soul went into the creation of nothing but eyes. It therefore stands to reason that they're superior. So...
 At the same time, I decided that this surfer-dude needs longer hair, and it ought to look a bit windblown. You do this by using the morphs provided with the hairdo which you purchased, installed, and slapped onto your character. Hmmm ... very nice. Almost there. The only thing is, now it's all come together with the right skinmap, hair and all -- and not what the photographic lights are set as if this were a studio shoot, those cheeks are too sunken. So I go back into my Lower Face morphs and unsink them. The last thing I do is give the character a name, and save it. You can save him in a master file, and just import him into any new scene where you want him to appear; or you can also save him as a Character Preset. This saves to a .dsb file, and you don't open this, or load it, you merge it onto an existing Michael 4. During the merge, all the facial characteristics load onto the M4 "doll," and if you've given him a special physique, this also loads -- the .dsb character preset will also load the skinmap and eyes. The only thing you need to do after merging it is add a hairstyle, and you're done.
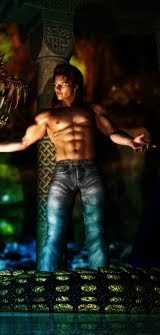
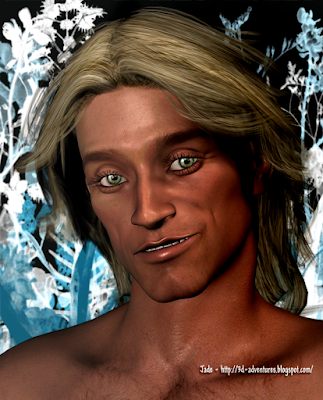
Everything is ready now for the final render, which is where I came in, and ...

...there you are ... go ahead and make your own character faces. It's a load of fun, and you get unique characters with your own personal mark of creativity on them. Enjoy!
UPDATE: it seemed like a great idea to continue with this character and create the whole body. If you'd like to see the genesis of a whole new guy, click here ... and he turned out so well, I also did a Male Nude Glamour shoot with him. Find the link to that post in the second half of this tutorial!
Jade, 21 November


