


Okay, so let's get started! First, return to the file where you were working on the face and back the camera off so you can see the whole body...
 This is the doll, just as it loads. The only thing it's had done to it is, the JM Alexander skinmap (hairy ... default) is loaded, and I put a pair of Speedoes on him for the sake of modesty. Also, on this blog I won't be talking about how to load up and configure the dangly bits. That would be inappropriate for a blog where the faint of heart are known to tread, albeit infrequentlly
The first thing to notice is that when you select the M4 model, the Morphs++ menu opens up on the right side of your screen. These morphs are the familiar slider bar controls that give you absolute control over virtually everything.
Let's be silly before we get clever. Lets' grab the "whole body" slider controls and drag them as far as they'll go, see what happens:
 Instant Incredible Hulk. How did a shaved gorilla get in here? Thank gods for the UNDO icon! So when you've seen how far you can push everything, undo the whole thing and get back to the M4 doll. Now, start with the full-body morphs and adjust them delicately to get a nice balance of body morphology...
NOTE: all the screencaps in this tutorial are uploaded at 1:1 size, so you can click to open them and see exactly where I dragged the controls. You can read the percentages off the images, if you wanted to absolutely duplicate this bod!
 Now, this is a bit more like it. He looks like an athlete, really toned. Now you can get into the minor adjustments. This is the point where the visual changes can be rather subtle. You might have to look twice to see the difference, but in the one below I've been working on the arms and shoulders...
 This is closer to what I had in mind when I started, so it's time to turn him around and organize the kind of bubble butt that makes it into the magazines:
So far, so good. I "turned off" the Speedoes so you can see the effect. You have the morphs to change the size and shape of the glutes, the flex and tension on them. I also changed the width of the hips and the amount of "love handles" he's carrying. This is starting to look really good, so -- "turn on" the Speedoes and turn him back around:
 Starting to look very nice indeed. Starting to get that "bombshell model" look about him ... so, on a whim I decided to change the skinmap. It's still JM Alexander, but I switched to the "shaved" option. Models are always depilated:
 At this point, it's also worth rendering one and seeing what the overall effect is. I don't have any lights set in this render. I have gone into the Surfaces tab and turned the "lighting model" to MATTE on both the M4 and the Speedoes. If you don't turn the skinmap's lighting model to MATTE, almost all of them get white blotches. And when the skinmap's lighting model has been changed this way, you also have to change the lighting model on the costume, or it'll shine like patent leather, which looks unrealistic.
Now, when you set the lighting models to MATTE, and you don't have any lights set up on the character, your first render will probably look dull, even lifeless. Don't worry about it -- this will come back to life when you set up your lights.
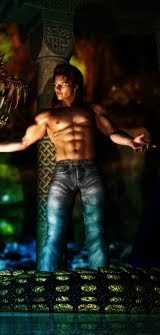
And now it's time to get "up close and personal." I won't be working below the belt in this feature, for obvious reasons, but unless you're happy with the generic chest, it's time to work on that, and you will find that you have control of everything. And I mean, everything.
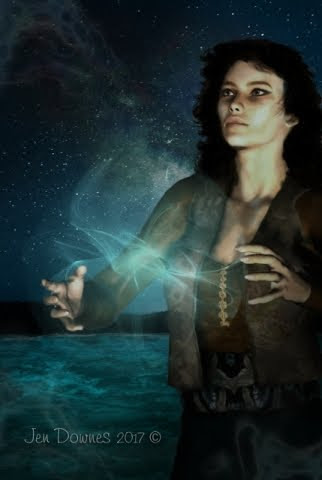
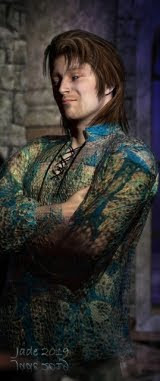
 The results are good enough now to set up some photo lights and render a proper one. Pose the model, put a slightly provocative expression on that angular, unique face we created last time, and here you are...
 Set the background to black, render this properly, and save the render. Now you're cooking, and this model is absolutely unique:

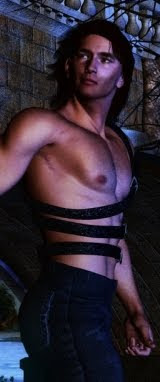
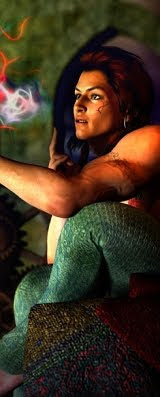
So lets' see what we can do with him, in the photographic sense. Add a prop and a couple extra lights, turn him around so we wind up with a render we can display here ... lose the Speedoes (again) and render this again. A quick tweak in GIMP or whatever, and ...

Jade, 23 November