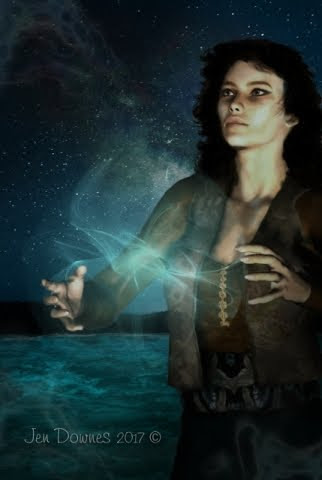


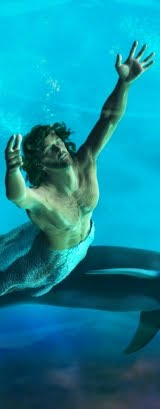
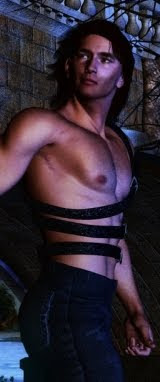
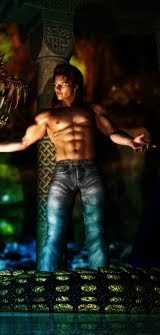

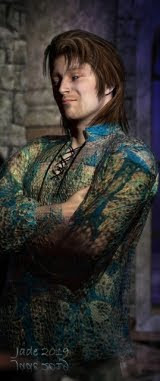


2024 Edit: sorry guys. All I have left is a bunch of thumbnails to give a clue as to what was going on in the original artwork. The images from 2010 have gone along with allllll the others. These are all that's left ... for what it's worth, they just a bunch of Deep Shadow Map renders of Michael 4 in fantasy costume. Nothing to get excited about now, but for me, it was all part of the learning process -- which is why I'm including the thumbnails here, more to jog my own memory than to entertain anyone else. I'll leave the text of the original post, but I'll gussie this up with a bunch of nice images from later on, which fit the same bill "Michael 4 with fantasy costume and tweaks and textures. In fact, everything here is M4, and I've switched out the textures and/or settings on virtually everything. Almost everything here is raytraced ... one or two are Iray renders.


...and the prevalence of 3D Bikini Babe materials kind of tells you where the market is, right? In fact, the sexier the attire she's almost wearing, the more people like it! There's probably more guys looking at (and doing?) 3D art than gals, so...
Bikini Babes in 3D it is, at least for this post! We've had some lovely guy-candy lately, so ... why not? This shoot was easy to do. It's the steps from the Lair set by DM, with a new texture added -- mossy rock, from a texture pack I got a few weeks ago. Keep telling myself to get out there and get my own textures -- all you need is a top-notch digital camera, and the TIME to go places and get the images. Ha! Like I have the time! The high fantasy sky was done in Bryce (by me), the the Spartacos hair is whipping every which-way in a wind...
The costume is the Chaos Seed bodice, bikini, cape and gloves, and the boots are the new Swashbuckler Boots for V4 (which we establish the other day will also fit Michael, if you're cute enough with the controls). These boots are still on their produce launch sale, as of today. For the Chaos Seed costume, though, I went with my own textures to make for something unique ... not that the Chaos Seed textures aren't great -- they are. But I wanted something different from the work over artists will be producing.
Sexy boots, indeed! Actually, they come with a variety of textures, one of which is green leather ... rest assured, you'll be seeing more of them. As for the model...
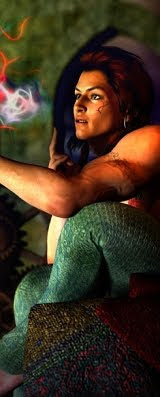
Victoria 4.2 is wearing the Angel skinmap, but not the Angel face. Alas, 'Angel' looks like she ran face-first into a door and smashed her mouth wide open, causing it to swell enormously. Like Angelina Jolie after several rounds with a heavyweight boxer. No, no l... this face is one of mine. Do you remember Agatha?! The barbarian queen. That's the one. You've seen her a few times here, but she's always been wearing the Mimi skinmap and the Celestial hair. Here, I switched out the skinmap for Angel and used the Spartacos hair.
DAZ Studio 3 offers the ability to do this at whim. It's a delight to work with these characters. Also being able to mix and match costume parts ... add your own textures and displacement maps ... you have the freedom to do anything, build anything. You can also get packs of basic construction shapes, like columns and pipes. These, you just slap your own textures on them and build anything. If all else fails, you can also create "primitives," which are basic shapes like squares, rectangles, spheres, donuts, right there in DAZ, and lock them together to make things.
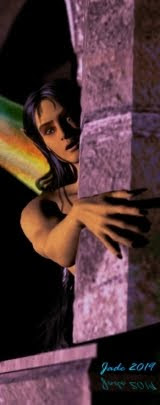
Transparency of objects in DAZ is something I get asked about now and then. For instance, I made the cape into very sheer silk for this shoot -- which is fine and dandy when it's overlaying the bodice, and the bodice is made of leather. But what about if you just tell the bodice to go away altogether, and make the cape semi-transparent. Uh huh. You put a whole new spin on the shoot. Glamour turns into the exotic-erotic. And that's the subject for a whole 'nother blog ... but I can tell you quickly, here, how to get that transparency.
Go into your Surfaces tab. Scroll down and select the object you want to make transparent. Look for the Opacity slider control -- it's under the "Basic" tab. Slide it to the left to make it, uh, transparent. Leader turns into silk right here. You can also add a displacement map to the silk to give it a gorgeous "crinkle" look, and add a whole new color or pattern, by changing the texture. I've talked about those at great length in other posts -- browse around the blog and you'll find them.
This current post became really long, so I didn't get around to adding Michael 4 to this scene. Join me tomorrow, and we'll see if we can persuade him to be outrageous!
Jade, 6 June (D-Day ...!)