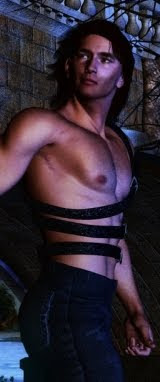
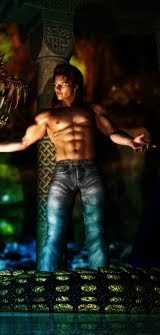
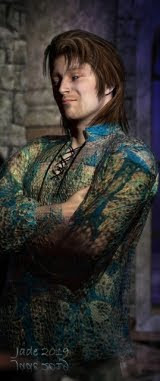
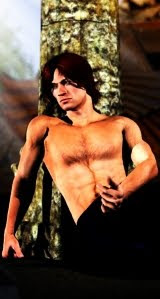
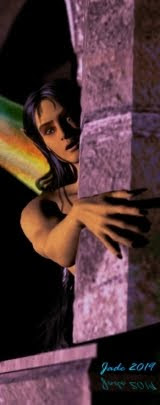
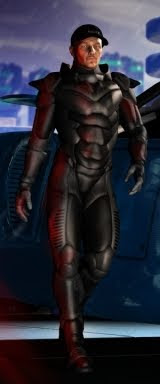
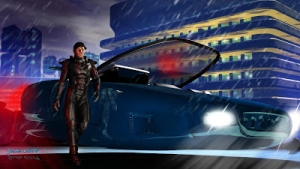
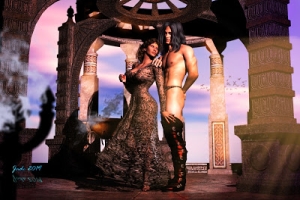
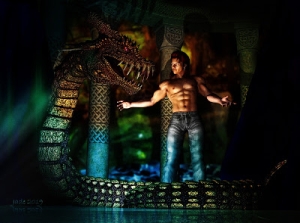
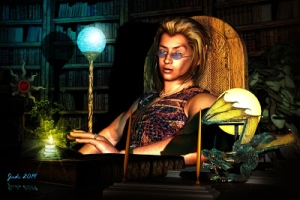
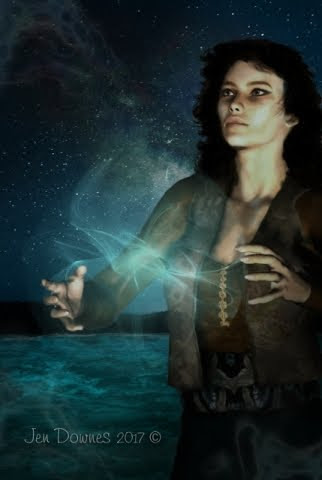
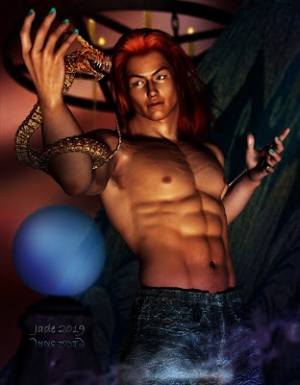
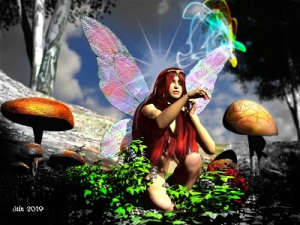
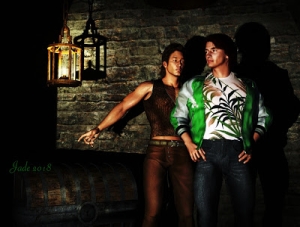
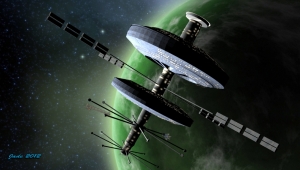
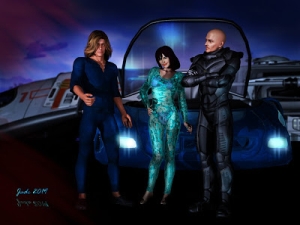
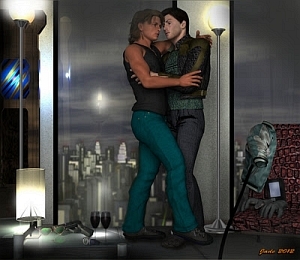
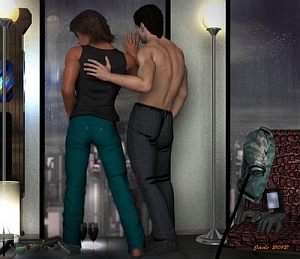
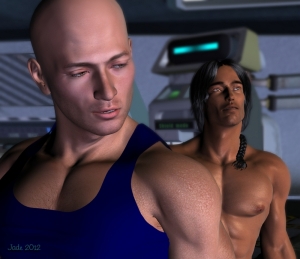
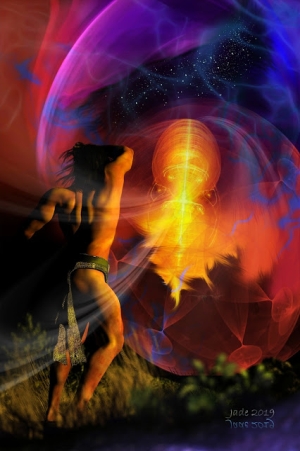
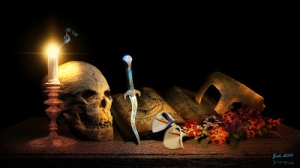
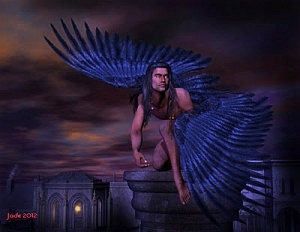
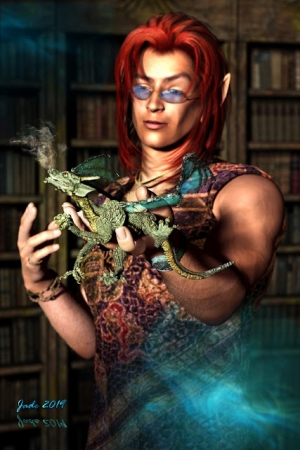
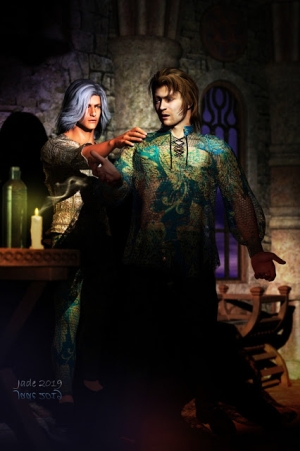
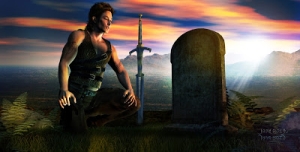
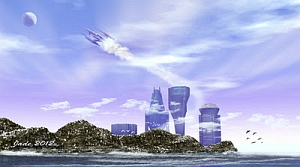
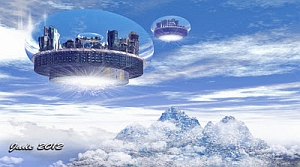
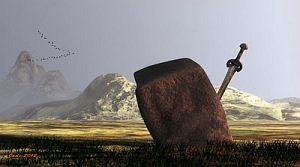
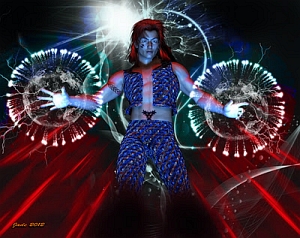
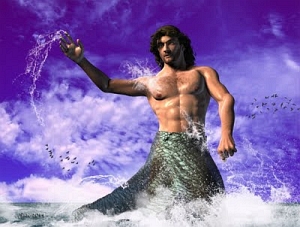
Sorry, guys: of the original art for this post, only one image survives. It's actually quite interesting, so I'll include it here ... but I'll also pad out this post with some renders in the same spirit from later years. 2010 is just too long ago!
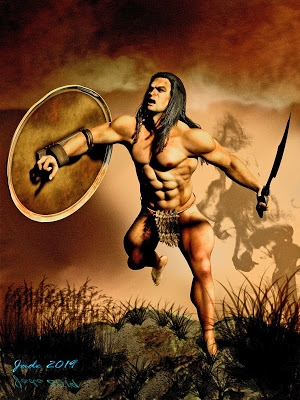
Again, focusing on 3D fantasy arty -- but just for fun I've gone back to the style of Boris and Frank Frazetta. It takes a good assortment of props and costumes to make shots like this go, but there's more to it than just whacking a lot of props into the scene. It's all about the lights too; and to get this effect you also need to think about the underpainting and overpainting.
In traditional art you transfer your sketch to a big board, and then start painting. Classical artists always painted the background first ... in the modern idiom, a lot of us used to lay down an oil wash, or acrylic wash, which would seal the carbon from your carbon paper, or the pencil from your tracing! The other thing laying down an oil wash did, it colored up the board, so you didn't get those pesky little white specks appearing, where the background met the subject and, because they were painted separately, there was always going to be a bit of a join. (That was never too much of a problem though, because when you were all done the trick was to lay clean paper on top of the painting to protect it, and then go over it all with a hair-fine brush and use closely matched paint to stipple in the white "join line.")
In digital art, it's soooo much easier! Here's a by the numbers version -- click to see it at BIG size:
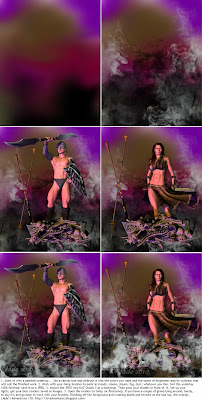
1. Start of with a painted underlay ... Set a canvas size and airbrush it into the colors you want and the zones of brightness and/or contrast that will suit the finished work.
2. Work with your Gimp brushes to paint in clouds, smoke, steam, fog, dust, whatever you like. Get this underlay 100% finished; save it as a JPEG. 3. Import the JPEG into DAZ Studio 3 as a backdrop. Then pose your models in front of it. Set up your lights, get your best renders saved as images.
3. Open the renders in Gimp (or Photoshop, if you have a couple of grand lying around, handy, to buy it!) and go back to work with your brushes, finishing off the foreground and creating depth and texture as the last lay, the overlay.
So, here's what was used to make these shots:
- Gimp 2.6
- DAZ Studio 3
- 800x1000 painted underlay
- Ron's Smoke and Steam (Photoshop brushes)
- Michael 4
- Victoria 4.2
- Mon Chevalier hair on both (set to blond and dark)
- Merlin's Helmets: Viking helmet
- Fantasy Forge weapons: double sword
- DM Shrine: the sword from the altar
- Wood God moccasins, loincloth, gloves
- Horizon Redux skirt, top, sandals and gloves
- Val Fantasy Shields
- Val Fantasy Spears
- Dark God textures on the Wood God costume
- Appropriate textures on ... everything.
- Piles and piles of bones from the Bone Construction Kit
- Half a dozen distant and point lights.
Join me tomorrow, when I'm going to do more with these figures. And I'll leave you with this, which is uploaded at large size, and mounted in Photoshop:


